Rules to Better CRM – Mail Merge - 4 Rules
What is mail merge? Mail merge lets you incorporate data from CRM and create customisable documents (in this case, email templates) that can be personalised and sent to multiple contacts or marketing lists.
These are the steps to edit a mail merge template in Dynamics 365:
- Go to the Settings cog in the top right-hand corner of Dynamics 365, then click Personalization Settings
- In the Personalization Settings window that pops up, click Email Templates
- You can then choose to view/edit your own personal templates or all email templates
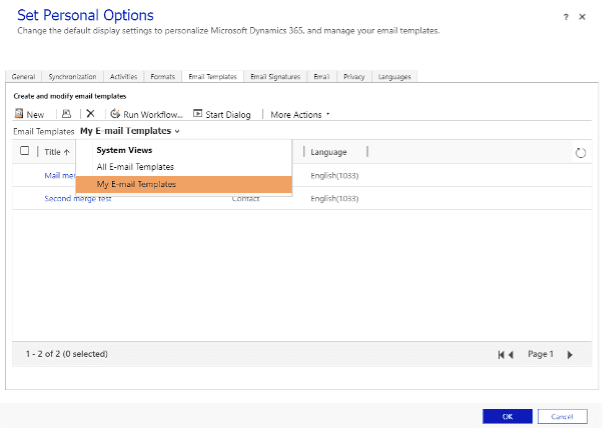
Figure: Selection of which templates you want to view - Click on the name of the template that you want to edit, a window will pop up with the template details, OR click on New to create a new template
- Edit, save, and close
You can use mail merge template to send emails to various accounts and multiple contacts. In the following instructions, I am using a Quick Campaign to determine those whom I’m sending the email to:
- Within Dynamics, click Marketing Lists in the left-hand column, and then click on the drop-down list at the top and select My active marketing lists
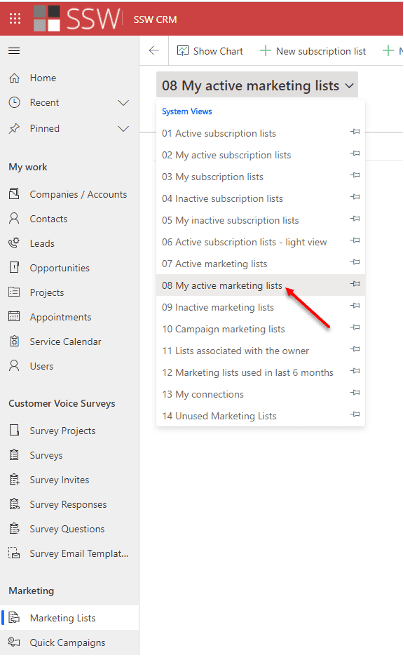
Figure: Find your active marketing lists to send out an email blast with mail merge templates - Click on the marketing list you want to send the email blast to

Figure: selection of marketing list - Select New Quick Campaign
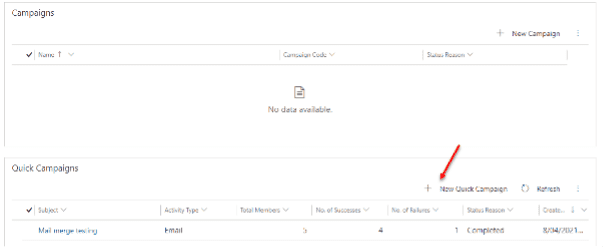
Figure: Selecting New Quick Campaigns - The Create Quick Campaign Wizard will then pop up, select Next
- Create a name for your Campaign
- Select Email as the Activity type
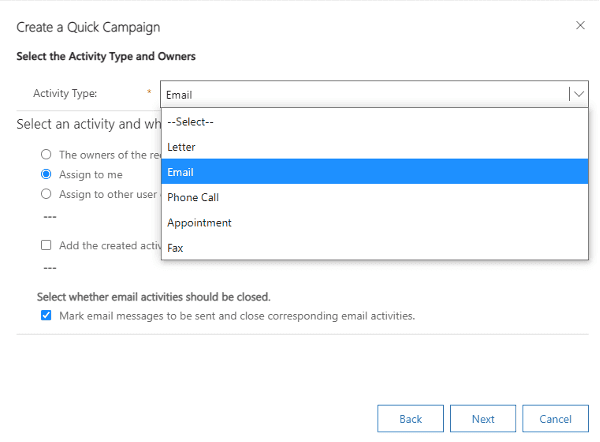
Figure: Selecting Email as your activity type - Select Assign to me, and decide whether you want email activities to be closed after sending (usually, you will want to close them)
- Select “Use Template”, and click on the magnifying glass in the bar below
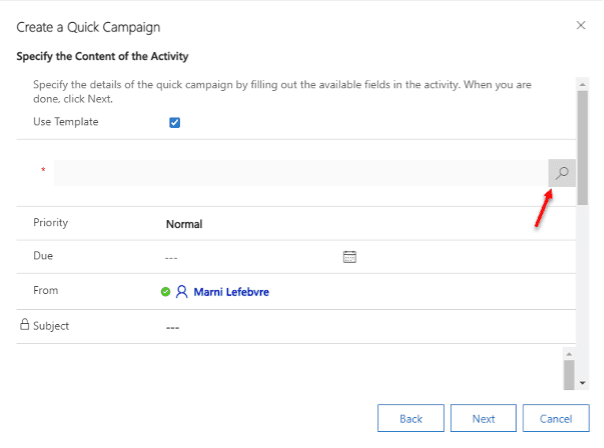
Figure: Searching for the template you want to use - Scroll through until you find the template you want to use
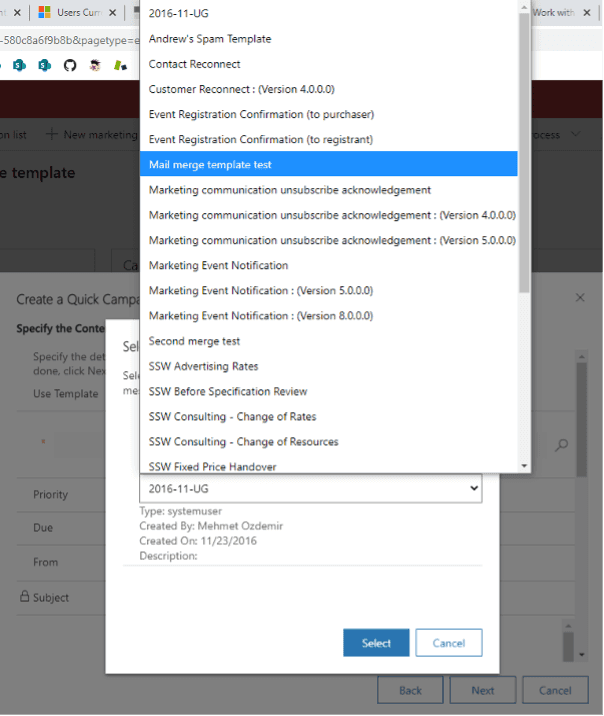
Figure: Template selection - Set the Priority to match the situation (urgent, normal etc.)
- The subject and body/content of the activity/email are already covered by the template you’ve chosen
- If you want to include it, the Duration is the anticipated number of minutes it will take the recipient to complete the activity or read the email. Select the appropriate timebox, if you so choose. Then, select Next
- Finally, select Create, and the Quick Campaign will initiate the activity, in this case sending an email (using the mail merge template) and send it out to everyone on the marketing list that you originally selected
- Within Dynamics, click Marketing Lists in the left-hand column, and then click on the drop-down list at the top and select My active marketing lists
While editing your mail merge template, you can add a Dynamics data field in the document. For example, you can add the contact's first name.
- When you’re editing or creating a new email template, in the subject or body of the email template select
</>Insert dynamic text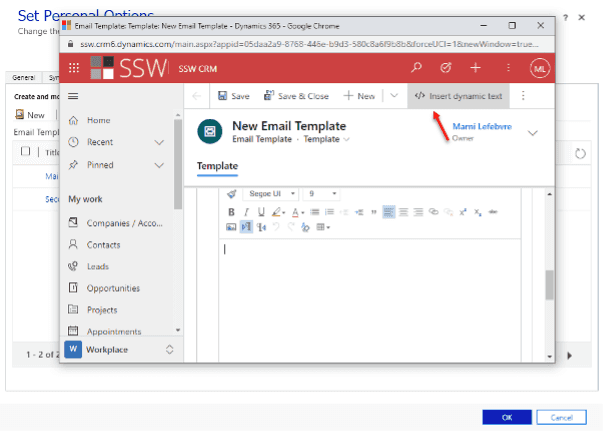
Figure: Selecting dynamic test - Leave the Record type as User, and then select the Field name of your choosing (for example, first name)
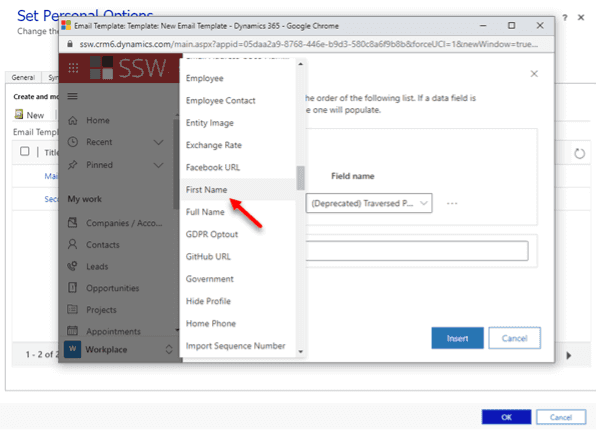
Figure: Selecting chosen Field name - If you want Dynamics to insert static text when none of the fields you have specified contain any data, in the Default text box, type the text that you want Dynamics to display instead of a dynamic value
- Finish editing your template, save it, and upload it to Microsoft Dynamics 365
- When you’re editing or creating a new email template, in the subject or body of the email template select
The following instructions to create Microsoft CRM 2016 mail merge template require you to have Microsoft CRM Outlook add-in installed on your Outlook, and you need to open Outlook while creating the template:
- Go to Settings from Microsoft CRM 2016 home page.
- Click Templates on the left navigation panel.
- Click Mail Merge Templates on right content panel.
- Click button New to create the new mail merge template.
- Fill in the mail merge template details and leave the File Attachment fields empty.
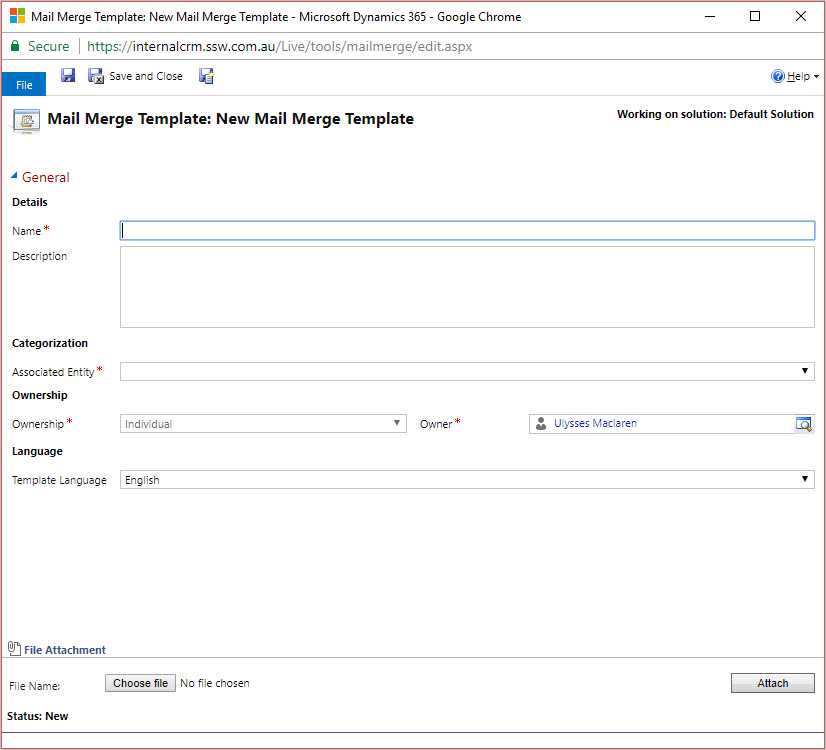
Figure: Fill in mail merge template details - Click the Save button to save your template. 7. After you save the template, click the button Create Template in Word to start creating the template content.
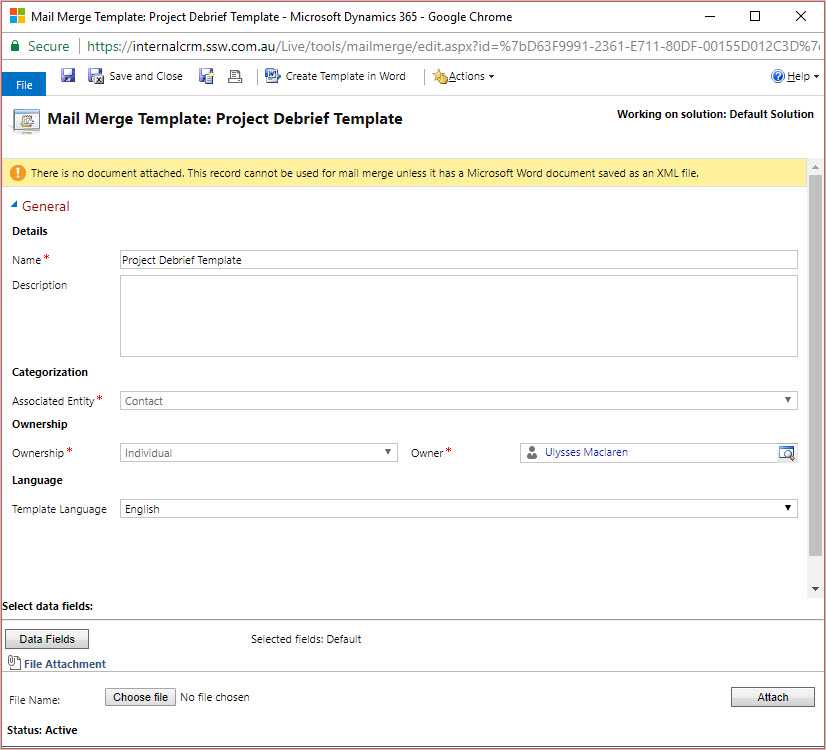
Figure: Create Mail Merge Template - A Microsoft Word document will be open on your machine. 9. Click Addins | CRM 10. Follow on screen instructions on the right panel of the word document to create the template.
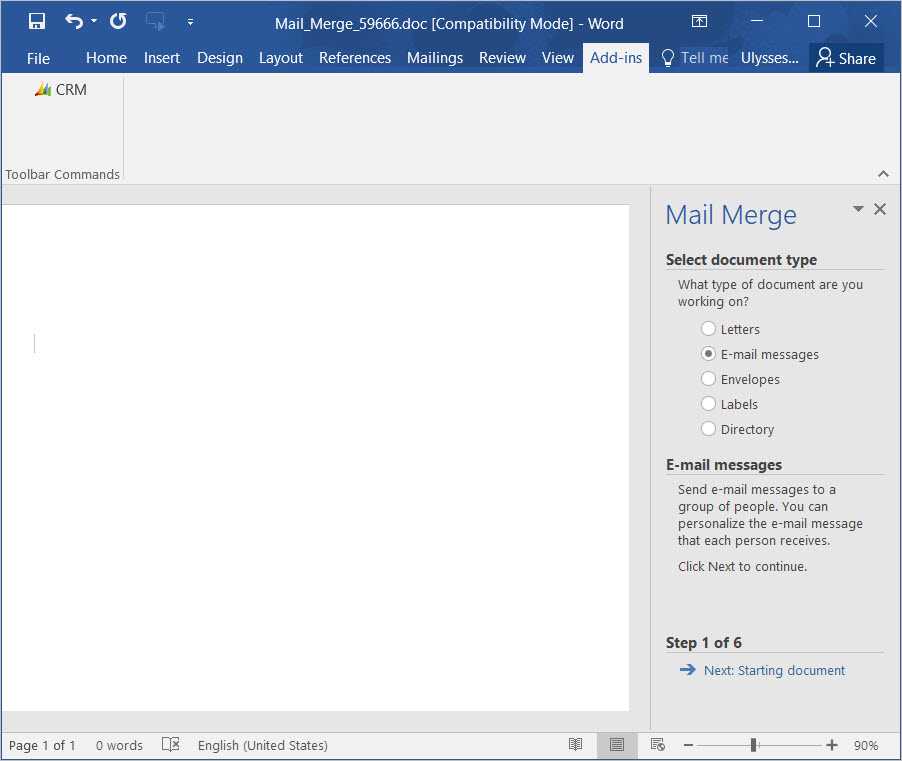
Figure: Follow the instructions to create template content